Key takeaways
- Days 1–7: collect the paperwork, confirm deposits and insurance and introduce yourself to tenants.
- Days 8–30: verify the rent roll against leases, get tenant certificates and walk every unit.
- Days 31–60: build maintenance, rent collection, paperwork and vendor systems.
- Days 61–90: plan capital repairs, rent strategy and reserves, then re-run your numbers.
Closing is the beginning, not the finish. The first 90 days decide whether a building becomes a cash-flowing asset or a headache. Here is a phase-by-phase checklist you can follow from the day you get the keys.
In this article
- The first 90 days set the tone
- Days 1–7: take control
- Days 8–30: verify and inspect
- Days 31–60: build the systems
- Days 61–90: plan the upside
- Re-run your numbers with real data
- First-quarter mistakes to avoid
- A first-week letter to your tenants
- What to track every month
- The tenant certificate, walked through
- Setting up a maintenance system
- Setting up the books
- Winning over tenants without giving away the building
- A week-by-week calendar
- If the building arrives with problems
- A quick risk and insurance review
- Frequently asked questions
The first 90 days set the tone
The day you close, you inherit every lease, every promise and every deferred repair the last owner left behind. The tenants are watching how you operate, and the habits you set in the first three months become the building’s culture. This checklist breaks the work into four phases so nothing important slips.
Days 1–7: take control
- Collect everything: signed leases, the rent roll, security deposit records, service contracts, keys, codes and warranties.
- Confirm deposits: make sure the seller transferred or credited the security deposits you are now responsible for, and follow your state’s notice rules.
- Insurance and utilities: confirm coverage is active and move utility accounts into the right names.
- Tell the tenants: send a short, friendly letter with your contact information, how to pay rent, how to submit maintenance requests and where to send notices.
- Change what needs changing: locks on common areas, mailbox keys, access to the boiler room.
Days 8–30: verify and inspect
- Match leases to the rent roll unit by unit: rent, dates, deposit, occupants and addenda.
- Ask tenants to confirm their rent and any side agreements in writing, often called an estoppel or tenant certificate.
- Walk every unit with a checklist and photos: safety devices, leaks, pests, mechanicals, condition.
- Fix life-safety items first: smoke and carbon monoxide detectors, exits, electrical hazards, heat and hot water.
- Start your records: a rent ledger, a maintenance log and a folder for each unit.
Days 31–60: build the systems
- Maintenance process: one way to request repairs, a response standard and a record of every job.
- Rent collection: one due date, accepted methods, a late fee your state allows and a written process for late payments. See our guide to handling late rent.
- Paperwork: replace missing leases and addenda as they expire; use a consistent lease such as the BulletProof Lease.
- Vendors: line up a plumber, an electrician, a heating contractor and a general handyman before you need them.
- Accounting: separate accounts for the building and a monthly budget versus actual review.
Days 61–90: plan the upside
- Capital plan: list roof, boiler, windows, paving and unit upgrades with rough costs and a schedule; our guide to estimating rehab costs helps.
- Rent strategy: compare each unit with market rent and plan increases as leases renew, following local rules. See how to raise rent and renew leases.
- Expense review: shop insurance, trash, lawn and snow, and check whether any utility can be metered separately.
- Reserves: rebuild your cash cushion for repairs and vacancies.
Re-run your numbers with real data
By day 90 you have actual rents, actual expenses and an honest list of repairs. Rebuild the deal analysis from those facts and compare it with what you underwrote. Our 15-minute deal analysis and the Multifamily Investment Analyzer make this a routine check rather than a once-a-year project.
First-quarter mistakes to avoid
- Raising every rent at once without checking lease dates and local rules.
- Letting verbal promises from the previous owner stand because nothing is written.
- Delaying life-safety repairs for cosmetic ones.
- Mixing building money with personal money.
- Waiting until something breaks to find a contractor.
A first-week letter to your tenants
Short, friendly and practical. Include:
- Your name, company and the date you took over.
- How to reach you for routine requests and for emergencies.
- Where and how to pay rent, and the due date.
- How to submit maintenance requests.
- A reminder that existing leases stay in effect.
- A sentence about what you plan to improve first.
Deliver it in person or by the method your leases require, and keep a copy.
What to track every month
| Category | What to watch |
|---|---|
| Income | Rent collected versus rent due, late payments, vacancies |
| Repairs and maintenance | Cost per unit and by building system |
| Utilities | Trend by meter; sudden jumps point to leaks |
| Taxes and insurance | Payment dates and any changes |
| Reserves | Balance and monthly contribution |
| Debt service | Payment, balance and any balloon date |
The tenant certificate, walked through
A tenant estoppel or certificate asks each tenant to confirm the basics in writing. A useful one covers:
- Current monthly rent and the date it is due.
- Lease start and end dates and any options to renew.
- Security deposit held.
- Any rent concessions, prepaid rent or side agreements.
- Any unresolved repair requests or disputes.
- Names of everyone living in the unit.
Hand them out in person with a short, friendly note, and offer to help tenants who need it. If a tenant’s answers differ from the rent roll, do not assume bad faith: resolve it, document the answer and correct your records. For example, a tenant who says they were promised a free parking space needs a conversation, not an argument.
Setting up a maintenance system
| Priority | Examples | Target response |
|---|---|---|
| Emergency | No heat in cold weather, gas smell, flooding, no security | Same day |
| Urgent | No hot water, major leaks, appliance failures | Within a day or two |
| Routine | Dripping faucet, loose handle, cosmetic repairs | Within a week or two |
Log every request with the date, unit, issue, who handled it and when it was fixed. Keep a short vendor list with after-hours numbers, and tell tenants exactly how to reach you for emergencies. Your response times are a promise, so set ones you can keep.
Setting up the books
- Separate accounts for operating money, security deposits (where your state requires separation) and reserves.
- Simple categories for income, taxes, insurance, utilities, repairs, management, debt service and capital improvements.
- A monthly review comparing actual income and expenses with your budget.
- A rent ledger per tenant, kept current.
- An accountant who understands rental property, introduced early.
If you cannot see your numbers every month, you are managing by feel.
Winning over tenants without giving away the building
New owners often swing between two mistakes: promising everything to be liked, or changing everything at once. A middle path works better.
- Fix a few visible, inexpensive problems first, such as lighting, trash areas and entry doors.
- Communicate the same way every time, in writing, with a clear contact.
- Honor existing leases and verbal promises you can verify, and put anything new in writing.
- Introduce rule enforcement gradually and fairly, starting with the issues that affect safety and other tenants.
Tenants who see competence early tend to give you the benefit of the doubt later.
A week-by-week calendar
| Week | Focus |
|---|---|
| 1 | Paperwork, keys, insurance, utilities, tenant letter, emergency contacts |
| 2 | Rent roll and lease audit, deposit confirmation, first rent collection under your system |
| 3–4 | Unit walk-throughs, safety fixes, tenant certificates, repair log |
| 5–6 | Maintenance process, vendor list, rent collection and late-notice process |
| 7–8 | Books, budget, reserve account, replace missing leases and addenda |
| 9–10 | Capital plan, bids on big items, insurance and utility savings review |
| 11–12 | Rent strategy by lease date, renewal pipeline, re-run the deal analysis |
| 13 | Review what worked, fix what did not, set quarterly goals |
Put the dates on a shared calendar with reminders. Owners who treat the first 90 days as a project usually run calmer buildings in year two.
If the building arrives with problems
Some buildings come with late-paying tenants, side agreements nobody wrote down or code issues the seller ignored. The first month is when you decide how you will handle them.
- Late or unpaid rent: review each ledger, then follow one written process for notices and fees. Do not accept informal arrangements that were not documented.
- Unwritten promises: ask the tenant what they were told, check it against records and decide what you will honor. Put anything you agree to in writing.
- Code and safety problems: fix life-safety items immediately and keep records of the work.
- Difficult tenants: treat the first notice as a reset, with a fair, consistent standard for everyone.
A quick risk and insurance review
- Confirm the policy covers the full replacement cost, loss of rent and liability, and ask about exclusions for vacant units.
- Review the age and condition of boilers, roofs and electrical panels with your insurer and inspector.
- Check that tenants carry renter’s insurance if your lease requires it.
- Look at your umbrella liability coverage with your agent.
- Note how each hazard is handled: stairs, railings, parking areas, snow and ice.
Frequently asked questions
What is a tenant estoppel certificate?
It is a short signed statement from a tenant confirming their rent, deposit, lease term and any side agreements. It helps you catch differences between what the seller said and what the tenant believes.
What should I do about security deposits?
You are generally responsible for deposits held by the prior owner. Confirm they were transferred or credited at closing and follow your state’s notice rules. Ask your attorney if anything is unclear.
Should I raise rents right away?
Not before you check each lease, the notice rules and your market. Raising rents as leases renew is usually smoother than a building-wide change.
How much cash should I keep in reserve?
It depends on the building’s age and condition. Older buildings need more. Many owners set a monthly reserve per unit and review it every quarter.
Learn the whole system, step by step
The Landlord Coaching Program is 20 on-demand video modules on finding, buying and managing multi-family property, plus 500+ pages of forms, letters and spreadsheets and the 31-page BulletProof Lease. One payment, lifetime access.
Join the Coaching: $899Try the free intro class
Coaching is not available to residents of Connecticut or Massachusetts. All sales final.
This article is general education, not legal, tax, financial or investment advice, and it does not promise any result. Laws and lending rules differ by state and city, and numbers in examples are illustrative. Talk to your own attorney, accountant and lender before you act.

Keep reading

How to Raise Rent and Renew Leases Without Losing Good Tenants
A renewal timeline, a way to set the increase, what to put in the offer and what to do when…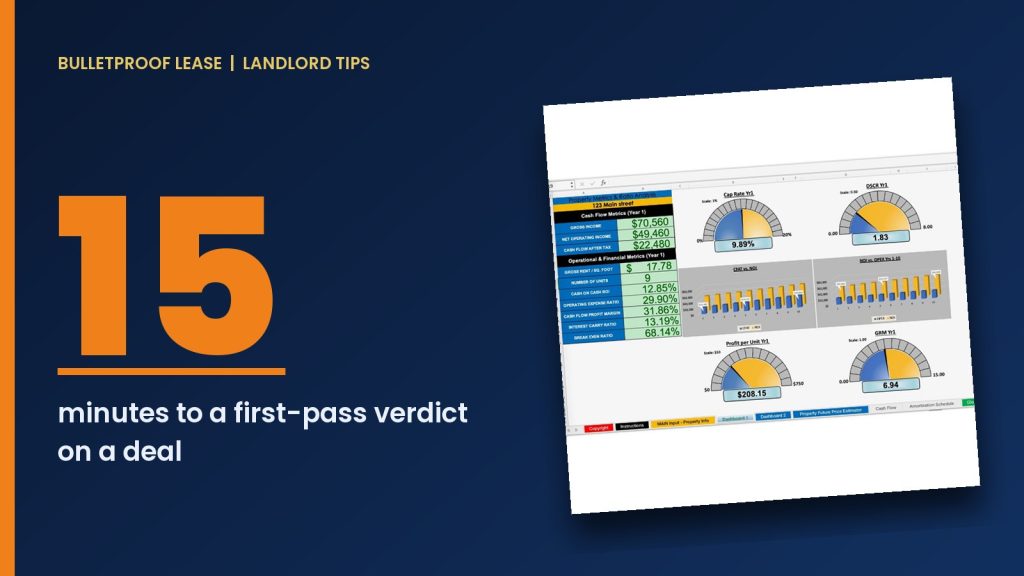
How to Analyze a Multifamily Deal in 15 Minutes
NOI, cap rate, cash-on-cash and DSCR in plain English, with a worked 8-unit example and a seven-step routine you can…