

Key takeaways
- Walk every property in the same order and take photos and notes.
- Build the budget line by line with quantities and unit prices, not a lump sum.
- Get three written bids on big items and add a 10–20% contingency.
- Include holding costs for the schedule and track estimate versus actual on every job.
A good deal turns into a bad one when the rehab goes over budget. This guide shows a simple, repeatable way to estimate repair costs before you make an offer, so the number you plan on is the number you can defend.
In this article
- Why rehab budgets fail
- Walk the property with a system
- Build the budget line by line
- A sample budget structure
- Get real bids
- Add a contingency
- Count the cost of time
- Rental versus flip: what to fix
- Track actuals against the estimate
- Scope items that depend on the building’s age
- Sequence the work and manage contractors
- Three scope levels
- Compare bids side by side
- Permits, inspections and code
- A room-by-room walkthrough checklist
- Estimating time and managing the schedule
- Budget checkpoints during the job
- Frequently asked questions
Why rehab budgets fail
Most blown budgets come from the same three mistakes: a walkthrough that stopped at the surface, no contingency, and prices guessed instead of quoted. A repair estimate is not a number you hope for, it is a list you can defend line by line.
Walk the property with a system
Go through the building in the same order every time so nothing is skipped: exterior, roof, foundation and structure, mechanicals, then each unit. Take photos and notes as you go.
- Exterior: roof, gutters, siding, windows, doors, steps, parking, drainage.
- Structure: foundation cracks, sagging floors, moisture, signs of past leaks.
- Mechanicals: heating, hot water, electrical panel and wiring, plumbing, age of each system.
- Inside each unit: kitchen, bath, flooring, paint, doors, smoke and carbon monoxide detectors.
- Code and safety: anything an inspector or insurer would flag.
- Walk the property in the same order every time
- List every repair as a line item
- Price with quantities and unit costs
- Collect three written bids on big items
- Add a 10–20% contingency
- Add holding costs for the schedule
- Track estimate vs actual
Build the budget line by line
Use categories, quantities and unit prices instead of a lump sum:
| Category | How to price it |
|---|---|
| Roof | Per square or per square foot, from a roofer’s quote |
| Heating and hot water | Per system, from an HVAC or plumbing quote |
| Electrical | Panel upgrade plus per-room or per-unit work |
| Kitchens and baths | Per room, in tiers (refresh, mid, full) |
| Flooring | Square footage times material and labor |
| Paint and drywall | Per unit or per room |
| Windows and doors | Per opening |
| Permits, dumpsters, cleanup | Line items, not afterthoughts |
A sample budget structure
The numbers below are round, illustrative figures for a hypothetical four-unit refresh. Prices vary widely by market, building and contractor, so replace every line with your own quotes.
| Category | Illustrative budget | Basis |
|---|---|---|
| Roof section repairs | $8,000 | Roofer bid |
| Heating: one boiler replacement | $9,000 | HVAC bid |
| Electrical safety work | $4,500 | Electrician bid |
| Two kitchen refreshes | $12,000 | $6,000 each, mid tier |
| Flooring and paint, four units | $10,000 | Square footage x unit price |
| Permits, dumpsters, cleanup | $3,000 | Line items |
| Subtotal | $46,500 | |
| Contingency (15%) | $6,975 | Unknowns |
| Planning number | $53,475 |
Get real bids
Collect at least three written bids on the big-ticket items. Ask each contractor to list what is and is not included, how long the work will take and how change orders are handled. Keep a simple comparison so you can see why one bid is higher or lower, not just that it is.
Add a contingency
Many investors add a cushion of 10 to 20 percent on top of the line items, with a larger cushion for older buildings or properties you could not fully inspect. Hidden rot, outdated wiring and permit surprises are normal. A contingency is not padding, it is the cost of what you cannot see yet.
Count the cost of time
Every month a building sits under renovation costs you loan interest, taxes, insurance, utilities and lost rent. Put a realistic schedule next to the budget, then add the holding cost for the extra weeks that always seem to appear. For a flip, this is where margin disappears; see our guide to house flipping math.
Rental versus flip: what to fix
For a rental, put money into the things that protect income and reduce tenant turnover: roof, mechanicals, safety items and durable finishes. For a flip, spend where buyers notice: kitchens, baths, curb appeal and a clean inspection. Cosmetic upgrades that look good in photos can wait on a rental that already cash-flows.
Track actuals against the estimate
During the job, keep a running sheet of estimated versus actual costs by category. After the job, save the numbers. After three or four projects you will have your own price list, which is worth more than any rule of thumb. The Rehab and Repair Cost Spreadsheet is built for exactly this.
Scope items that depend on the building’s age
Older buildings hide older problems. Look specifically for:
- Pre-1978 construction: for paid renovation of rental housing built before 1978, the EPA Renovation, Repair and Painting (RRP) rule generally requires an EPA-certified firm using lead-safe work practices, and tenants must receive the “Renovate Right” pamphlet first. Penalties are steep, so hire an RRP-certified contractor and budget for it.
- Outdated wiring and panels: some insurers and inspectors will flag them.
- Galvanized or cast-iron plumbing: leaks and low pressure are common.
- Old heating plants: a boiler or furnace at the end of its life is a major line item.
- Roofs, chimneys and masonry: deferred work here gets expensive fast.
Ask an inspector or contractor who knows your area what to expect in a building of that age.
Sequence the work and manage contractors
Good sequencing saves money. A common order is safety and structure first, then mechanical rough-ins, then insulation and drywall, then finishes, then a punch list.
- Pay by milestone, not by date, and hold back a final payment until the punch list is done.
- Get written change orders for anything outside the scope, with the price and the schedule impact.
- Collect lien waivers as you pay, and confirm each contractor’s license and insurance where your state requires them.
- Visit the site weekly with photos and compare progress with your estimate sheet.
Three scope levels
Define the level of work before you price it, or every contractor will quote something different.
- Cosmetic refresh: paint, cleaning, flooring touch-ups, fixtures, minor repairs and curb appeal. Fast and low cost; it does not fix systems.
- Standard rehab: a refresh plus kitchens and baths, new flooring, doors and trim, and repairs to worn mechanicals.
- Full rehab: everything above plus structural, roofing, electrical, plumbing or heating replacements, often with permits and inspections.
Write the scope for each unit, then price it. Mixing levels (a premium kitchen in a building with a failing roof) is how budgets get spent in the wrong place.
Compare bids side by side
| Question | Bid A | Bid B | Bid C |
|---|---|---|---|
| Total price | |||
| What is included | |||
| What is excluded | |||
| Materials: who buys, what grade | |||
| Start date and duration | |||
| Payment schedule | |||
| License, insurance, references |
Use a sheet like this so you compare scope, not just price. Be cautious of a bid that is far below the others, a request for a large deposit before any work, a vague scope or a contractor who will not show a license or insurance where required.
Permits, inspections and code
Permits protect you. Work done without them can cause problems with insurance claims, financing and resale, and local authorities can require you to open walls to inspect it. Ask each contractor who will pull the permits, how inspections will be scheduled and what happens if an inspector fails the work. In multi-family buildings, ask whether changes affect the certificate of occupancy, fire separation, egress or the unit count.
A room-by-room walkthrough checklist
Print this and carry it through every property so no room gets skipped.
- Kitchen: cabinets, counters, sink and faucet, under-sink leaks, appliances, ventilation, outlets near water, flooring.
- Bathrooms: tub and shower surround, soft spots near the toilet, ventilation fan, water pressure, toilet and vanity, caulk and mold.
- Living and bedrooms: floors, walls and ceilings (stains, cracks), windows (operation, seals, egress), doors and locks, closets.
- Entry and stairs: railings, treads, lighting, door hardware, mail and package area.
- Basement and utilities: moisture, foundation cracks, sump pump, heating system, hot water tank, electrical panel, meters.
- Exterior: roof, gutters and downspouts, siding, porches, steps, grading, driveway, fences and trees near the building.
- Safety: smoke and carbon monoxide detectors, fire exits, handrails, GFCI outlets, anything that would fail an inspection.
Photograph each item with a note, then drop them into your line-item budget. If you see something you cannot judge, such as foundation movement or old wiring, bring in a qualified inspector rather than guessing.
Estimating time and managing the schedule
Every rehab estimate needs a schedule, because time is money in interest, taxes and lost rent. Build one backward from your target date:
- List the phases: demolition, structural, mechanical rough-ins, inspections, insulation and drywall, finishes, punch list and cleaning.
- Ask each contractor how many days their phase needs and what must be finished before they start.
- Add time for permits, inspections and material lead times, especially for windows, doors, cabinets and appliances.
- Add buffer, roughly 10% to 20%, for weather and surprises.
- Check progress weekly and update the plan when something slips.
Budget checkpoints during the job
- After demolition: reopen your estimate, since hidden conditions show up now.
- After rough-ins: compare actual costs with the budget for mechanical work.
- At the halfway point: review what has been spent against what is done, and adjust before you commit to finishes.
- Before the final payment: walk the punch list, collect lien waivers and warranties and test every system.
Frequently asked questions
How much contingency should I add?
Many investors use 10 to 20 percent. Use more for older buildings, deferred maintenance or properties you could not inspect fully.
Should I trust a contractor’s walkthrough number?
Treat it as a starting point. Ask for a written, itemized bid that lists inclusions and exclusions, and compare at least three.
What do beginners forget most?
Permits, dumpsters, cleanup, holding costs and the cost of the extra weeks the schedule always seems to need.
How do I price kitchens and baths?
Use tiers: a light refresh, a mid-range update and a full gut. Price each tier from real quotes in your area, then reuse those numbers.
Know your margin before you make an offer
The Basic House Flipping Spreadsheet tracks a flip from purchase to sale so you can see your numbers, your margin, and when to walk away.
Get the Flipping Spreadsheet: $29.95Try the free flip calculator
This article is general education, not legal, tax, financial or investment advice, and it does not promise any result. Laws and lending rules differ by state and city, and numbers in examples are illustrative. Talk to your own attorney, accountant and lender before you act.

Keep reading

House Flipping Math: The 70% Rule and the Numbers That Kill Deals
The 70% rule in plain English, how to get ARV right, the hidden costs that quietly kill margin, and a…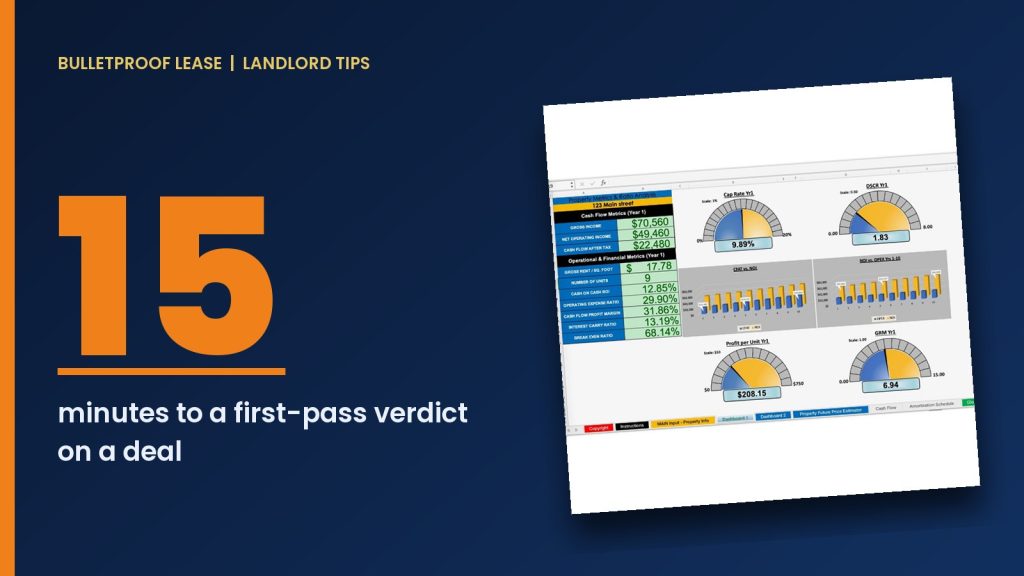
How to Analyze a Multifamily Deal in 15 Minutes
NOI, cap rate, cash-on-cash and DSCR in plain English, with a worked 8-unit example and a seven-step routine you can…